Setting up Shifts
Setting Up Shifts
I-Mark software allows production shifts to be tracked and printed directly on parts. Shifts can be added, named, and linked to layouts using a dynamic code.

Accessing the Shifts Dialog
- Let the software fully open.
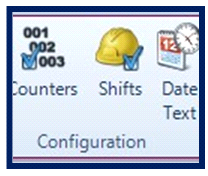
- On the Ribbon menu, select the Shifts tab.
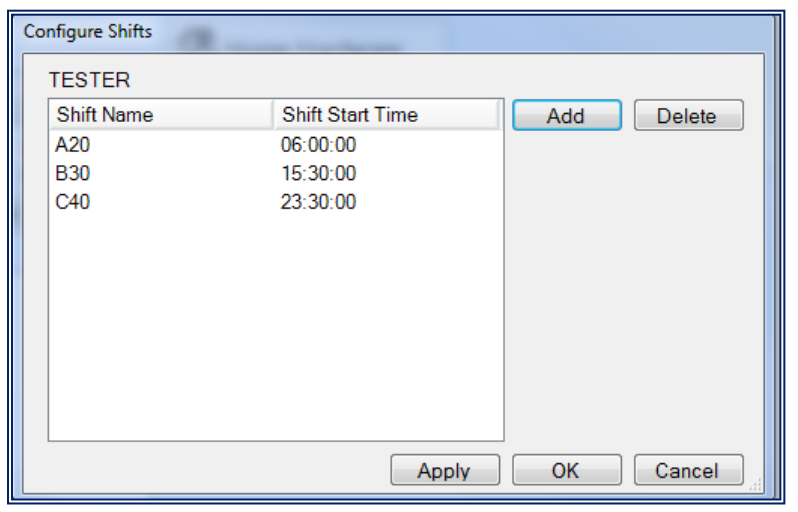
- The Shifts dialog box will open.

Adding a New Shift
- Click Add to create a new shift.
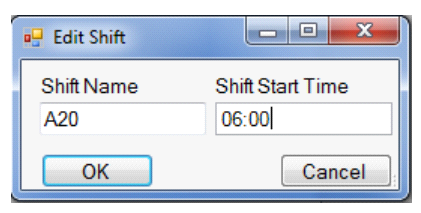
- The Edit Shift box will appear. Configure the following:
- Shift Name: Name your shift.
- Note: The shift name will print on the part.
- Shift Start Time: Enter the start time for the shift.
- Repeat as needed to add additional shifts. You may use as many shifts as you would like.
- Using the shift wildcard will enter appropriate shift in mark.

Using Shifts in Your Layout
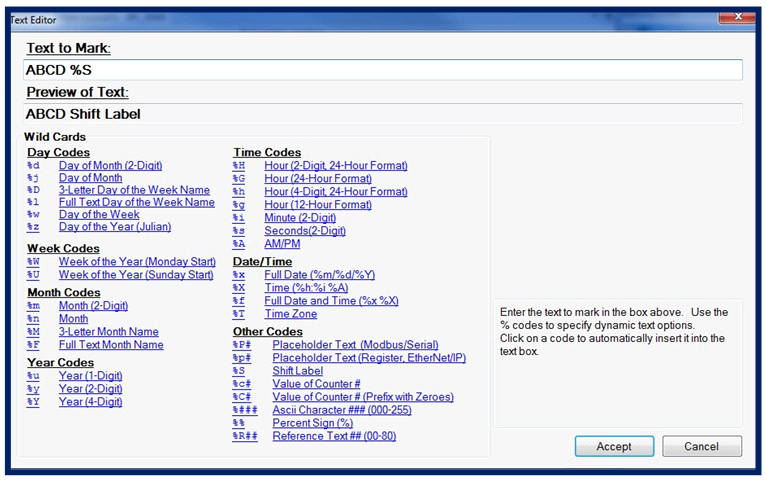
- Create your text entity in the layout.
- Insert the shift code %S wherever you want the shift name to appear.
The software will automatically determine the active shift based on the system allocated time and print the corresponding shift name during marking.

Downloading Shift Settings to the Controller
- Navigate to the Controller Page.
- Click Download to save the layout and shift settings to the controller.
- Once downloaded, the software will reference the time you allocated for each shift and automatically apply the correct shift during production.

Best Practices
- Ensure the system’s time matches your actual production schedule.
- Use meaningful shift names that make sense when printed on parts.
- Always download the layout after creating or modifying shifts to ensure proper synchronization.
- Verify the %S code is correctly placed in your text entities before marking.
Created with the Personal Edition of HelpNDoc: Keep Your Sensitive PDFs Safe with These Easy Security Measures